
Create a contact form QR code
Build a contact form on its own web address, point a QR code at it, and start receiving messages from anyone who scans the code.
A CodeQR page is a form that lives on its own web address. Point a QR code at that address and anyone who scans it can write to you — no app, no saved number, nothing to install on their side.
Availability
- Plan: every plan, including the free one. The number of pages is what changes: Free 1, Starter 5, Pro 20, Business 100, Scale 500.
- Where: Pages in the sidebar.
Before you start
Decide which kind of page you need. Five are offered and four of them do the job today:
- Contact Form — name, email, phone, subject and message. The one this article builds.
- Feedback — a rating and a comment.
- Newsletter Subscription — name, email and interests.
- Digital Business Card — your details and a Save contact button, followed by a form that captures the visitor back.
Six more appear with a Coming Soon badge and cannot be selected: Survey, Event Registration, Job Application, Appointment Booking, Product Order and Donation Form. Photo Gallery can be selected, but it collects photos from visitors instead of showing yours — pick it only if that is what you want.
Steps
- Open Pages and select Create new page.
- Select New form.
- Choose Contact Form.

- Give the page a name and select Create page. The name is internal — visitors never see it, and it is what the consent notice quotes, so use something a stranger would recognize.
- In Form Content, fill in Title, Description and Button text. These are what the visitor reads. Select Save.

- Open After Submission, keep Message selected, and write your own Message title and Message description. Do this before you publish: the fields arrive filled in Portuguese, so an English page thanks people in a language they may not read.
To send people to a page of your own instead — a thank-you page, a download, a WhatsApp link — open the Redirect tab, fill in Redirect URL with the full address including https://, and save. A saved address always wins: Message and Redirect are two editing tabs, not a switch, so the card you wrote only appears while Redirect URL is empty. To go back to it, clear that field and save again.
!The After Submission card with Message and Redirect, the message title and description fields

- Turn on the switch to the right of the page name, at the top of the editor. That switch is what changes the page from Draft to Published, and it carries no label. Until you turn it on the address answers as if it did not exist, so publish before you print anything.
Get the address and the QR code
The page address is shown under its name and looks like expol.ink/p/hMdPbFS9N9. Select Copy.
CodeQR assigns that address when the page is created. It cannot be edited, so print the QR code rather than the address itself, and use a dynamic QR code so the destination stays changeable — see Create a dynamic QR code and paste the page address as the destination.
What the visitor gets
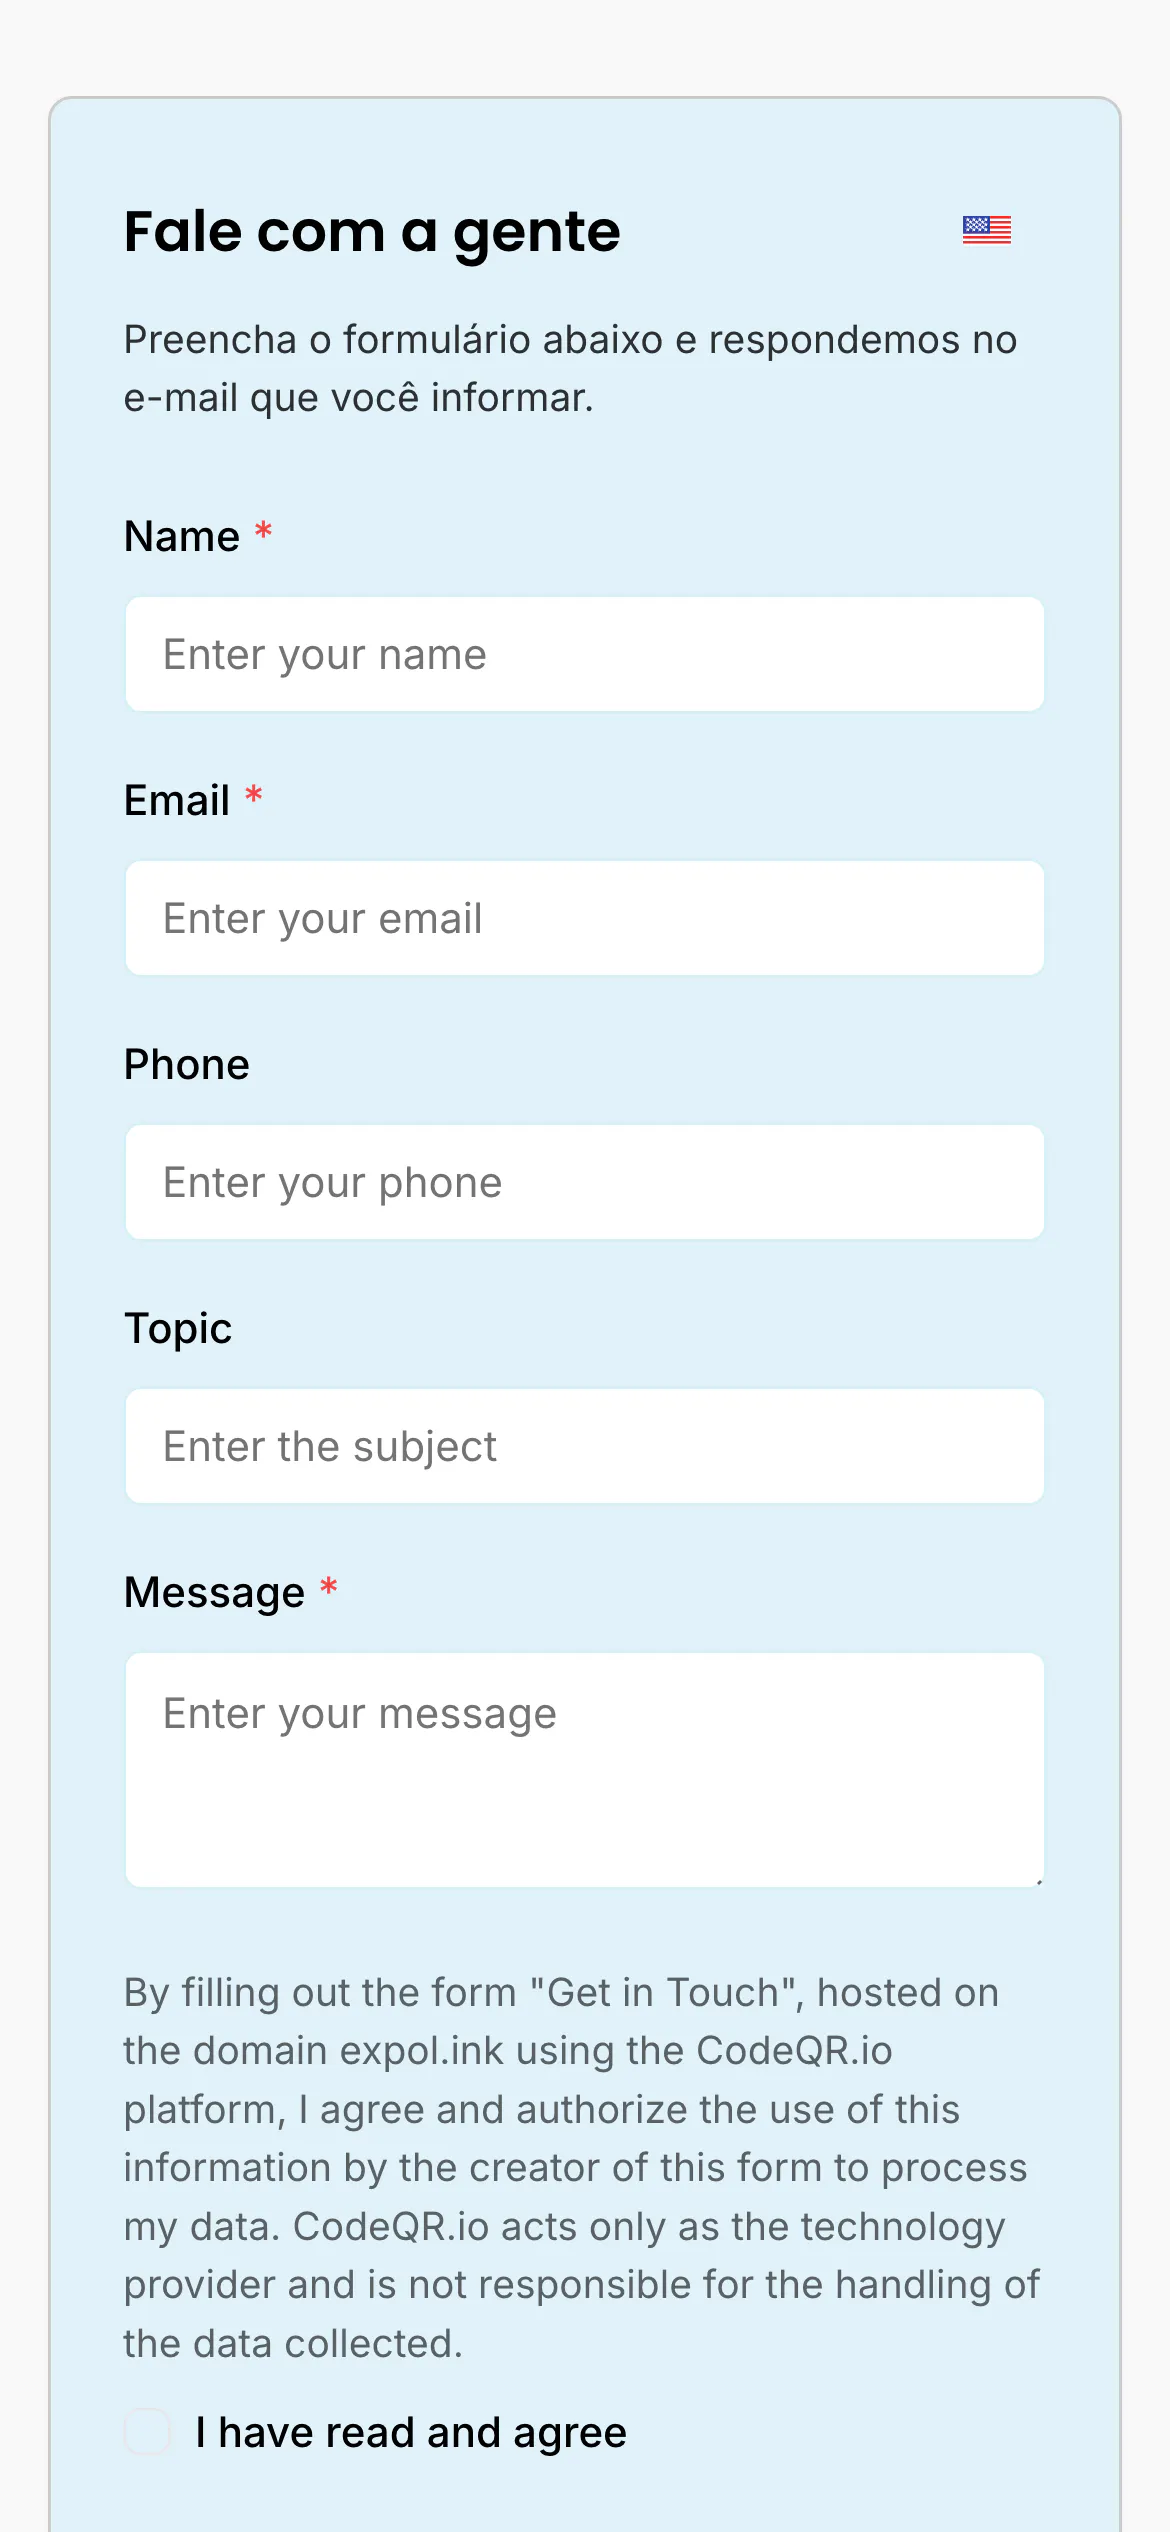
Under the fields, every page carries a consent paragraph and an I have read and agree checkbox, switched on with no configuration. It names your form, names the domain, and says CodeQR is the technology provider and you are responsible for the data — see Ask for consent before you collect data.
Verify it works
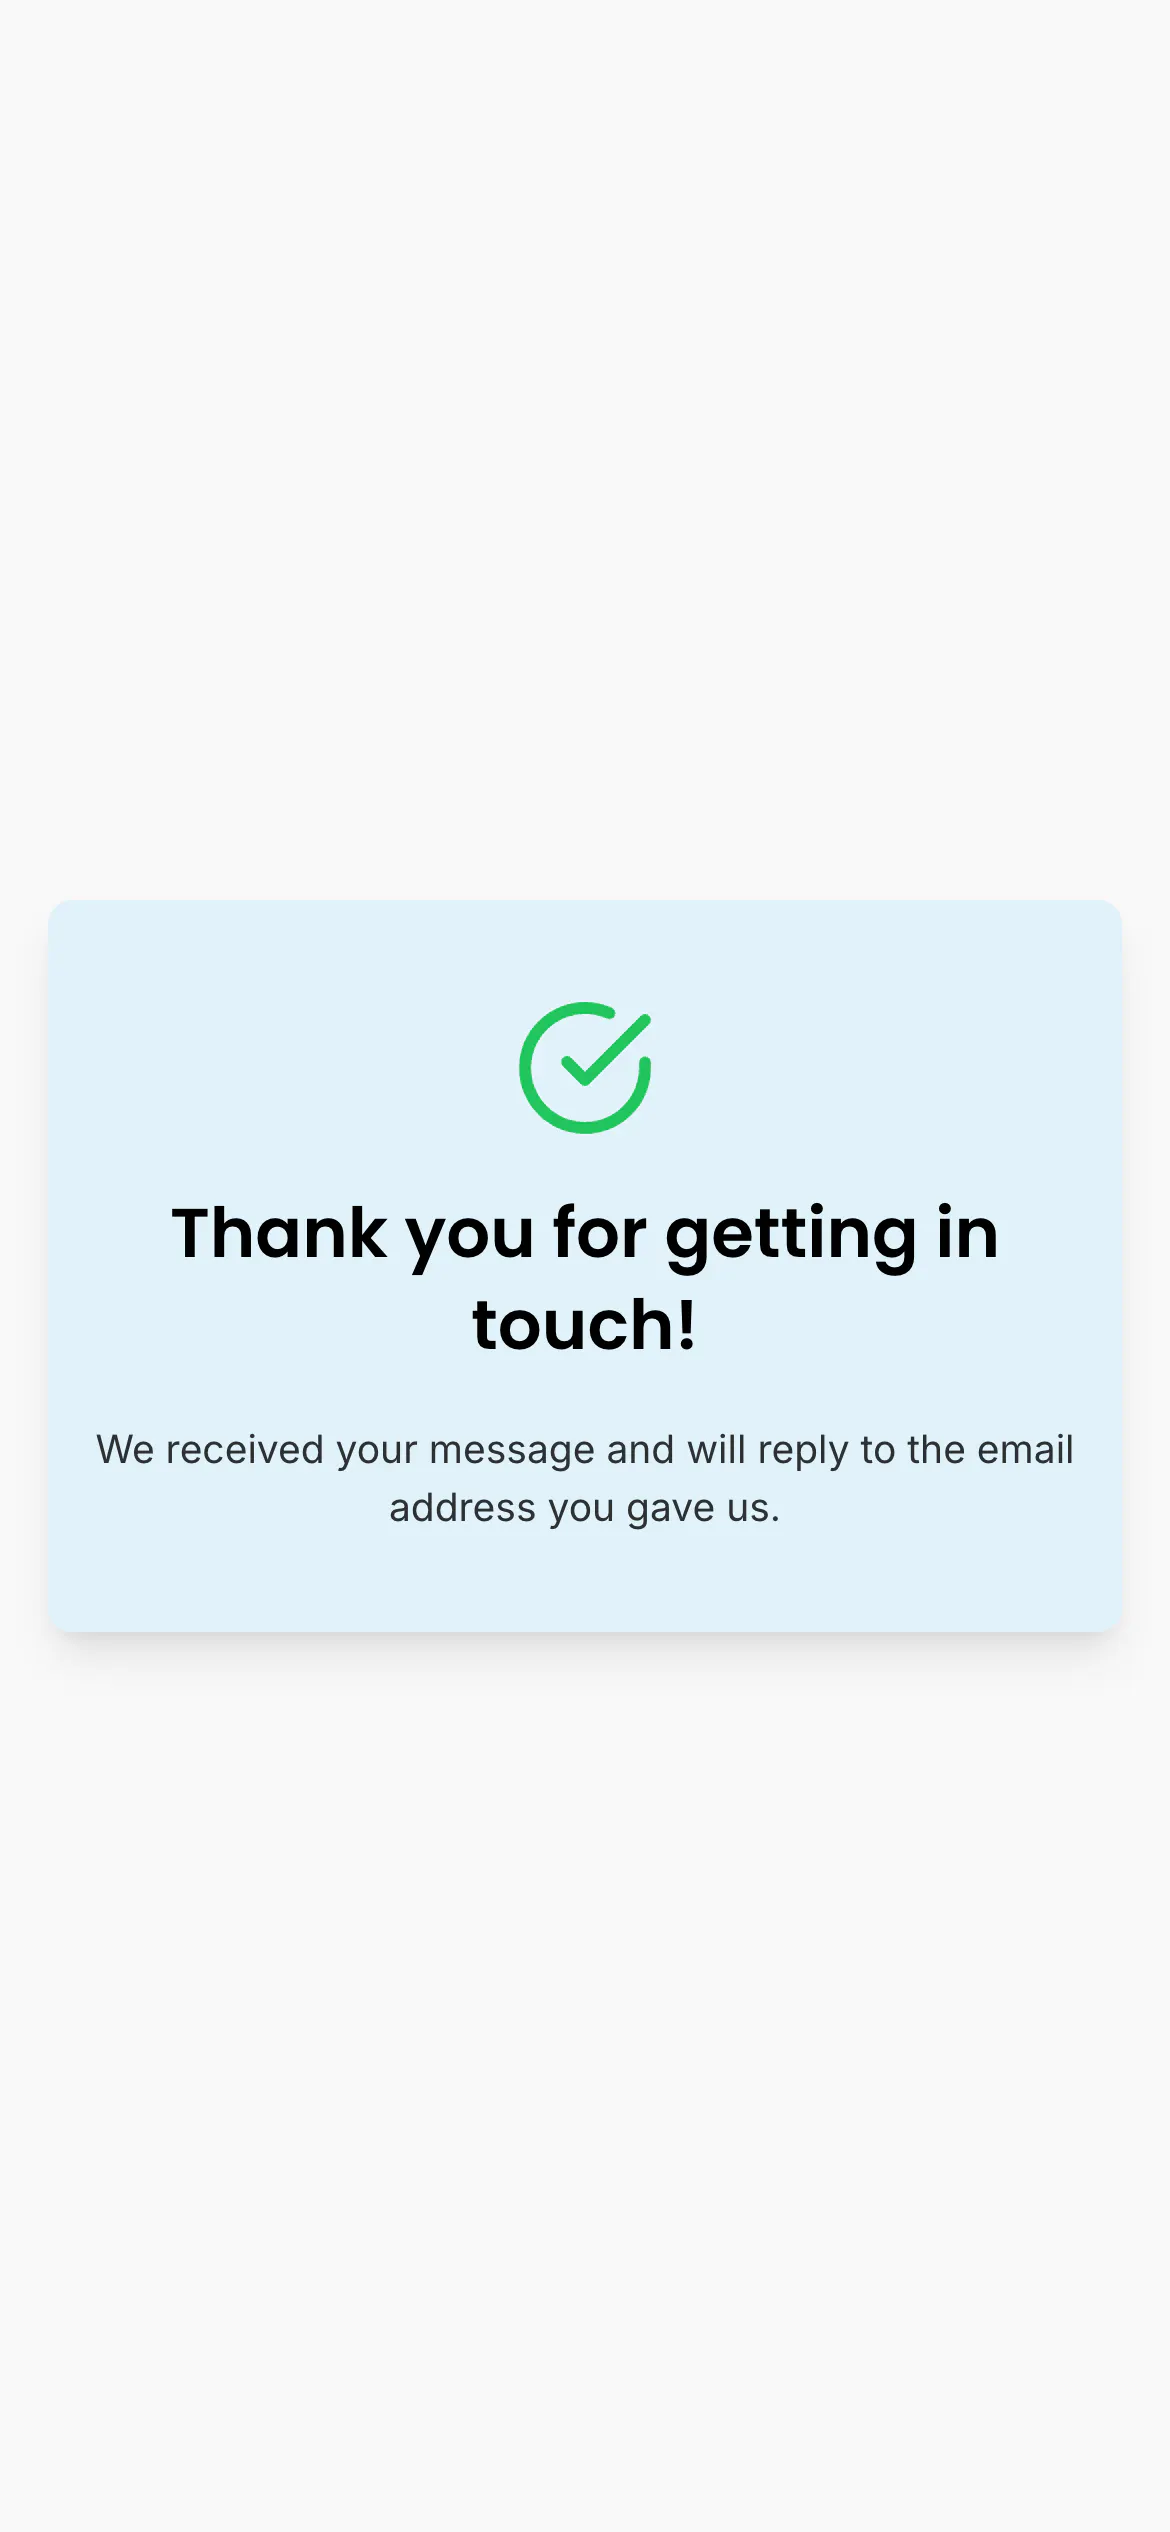
Open the address in a private window, fill the form in and send it. You should see your own thank-you message, and the entry should appear under Responses within seconds.
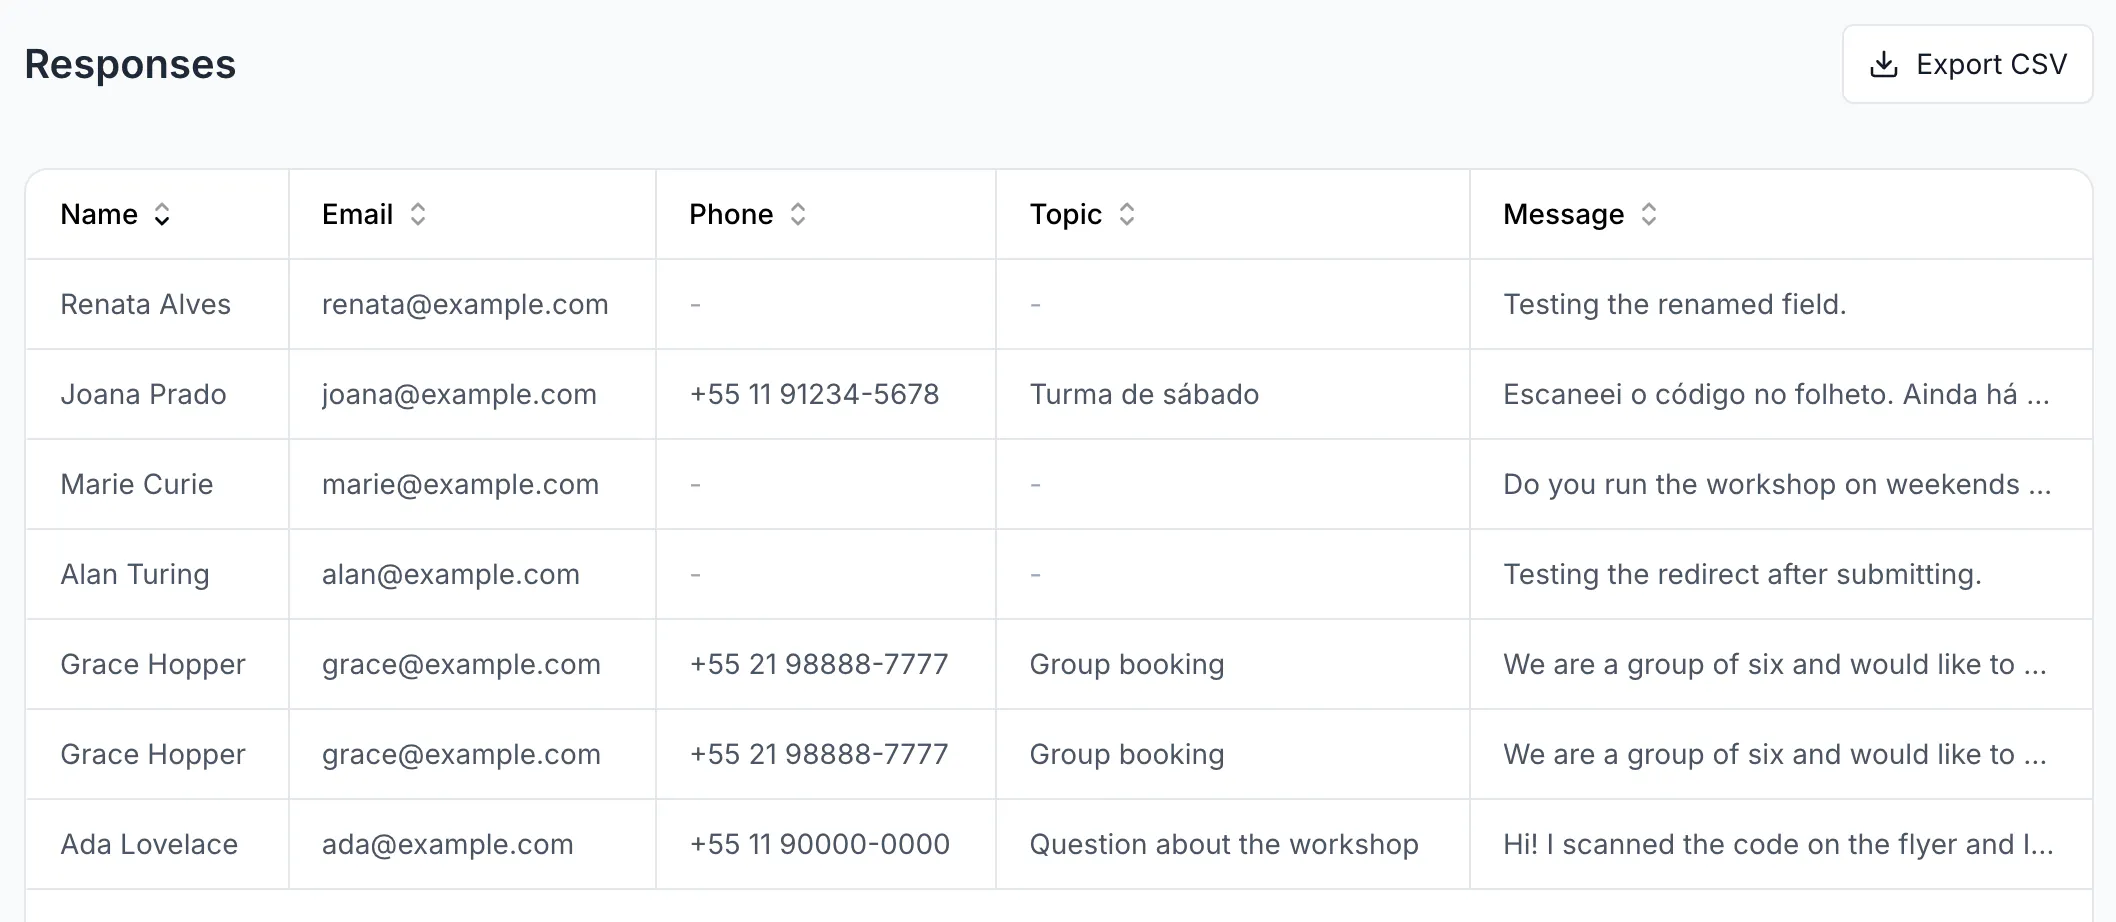
The table lists sent forms only, so your entry is the newest row. Read and export your form responses covers the columns and the CSV.
Troubleshooting
The address answers as if the page did not exist
Only a published page is public. While the switch at the top is off, the page is marked Draft and its address answers exactly like an address nobody ever created — no form, and no visit recorded. Turn the switch on.
The same is true in reverse: turning it off later takes the page down, and any QR code already printed for it stops working. Keep a page published for as long as its code is in the world.
You have reached the number of pages your plan includes
Free plans include one page. Delete a page you no longer need, or move up a plan — Choose and change your plan.
You cannot find where to change the address
There is no such control. The address is assigned once and stays. This is why the QR code should be dynamic: the code stays the same on paper while you change where it goes.
The form asks in English on a Portuguese page
The field labels come from the template and stay in English until you rename them one by one — Choose the fields your form asks for.